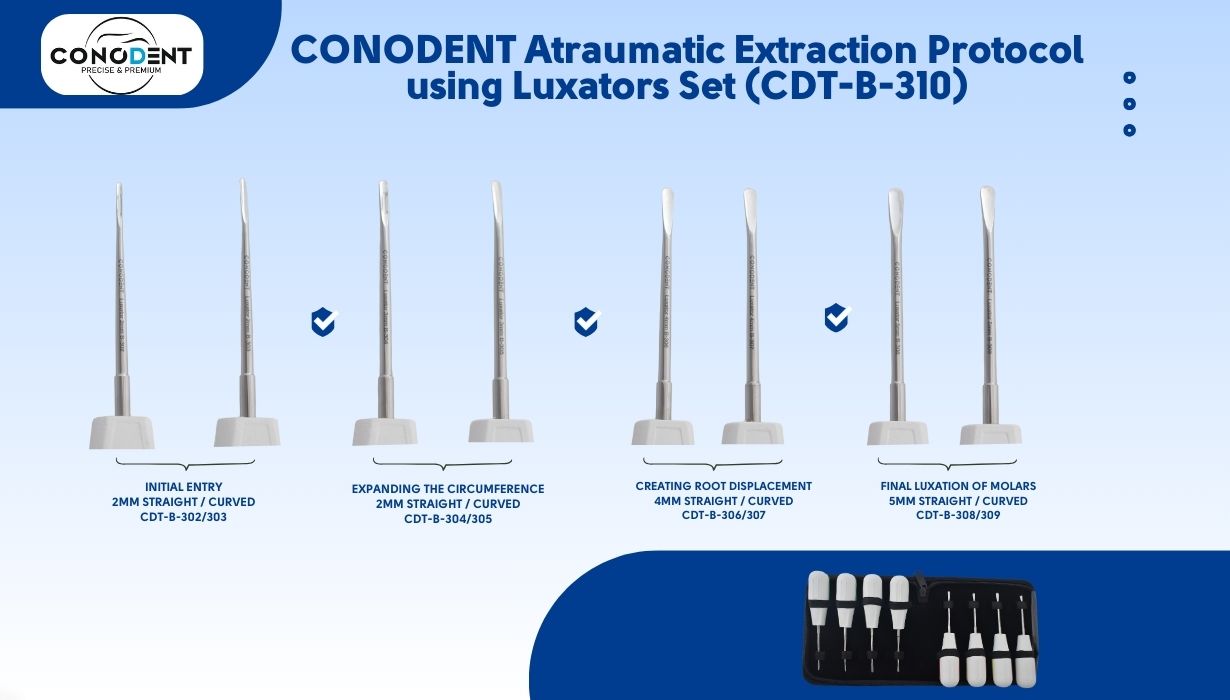
CONODENT Atraumatic Extraction Protocol
Stage 1: Initial Entry (The 2mm Straight)
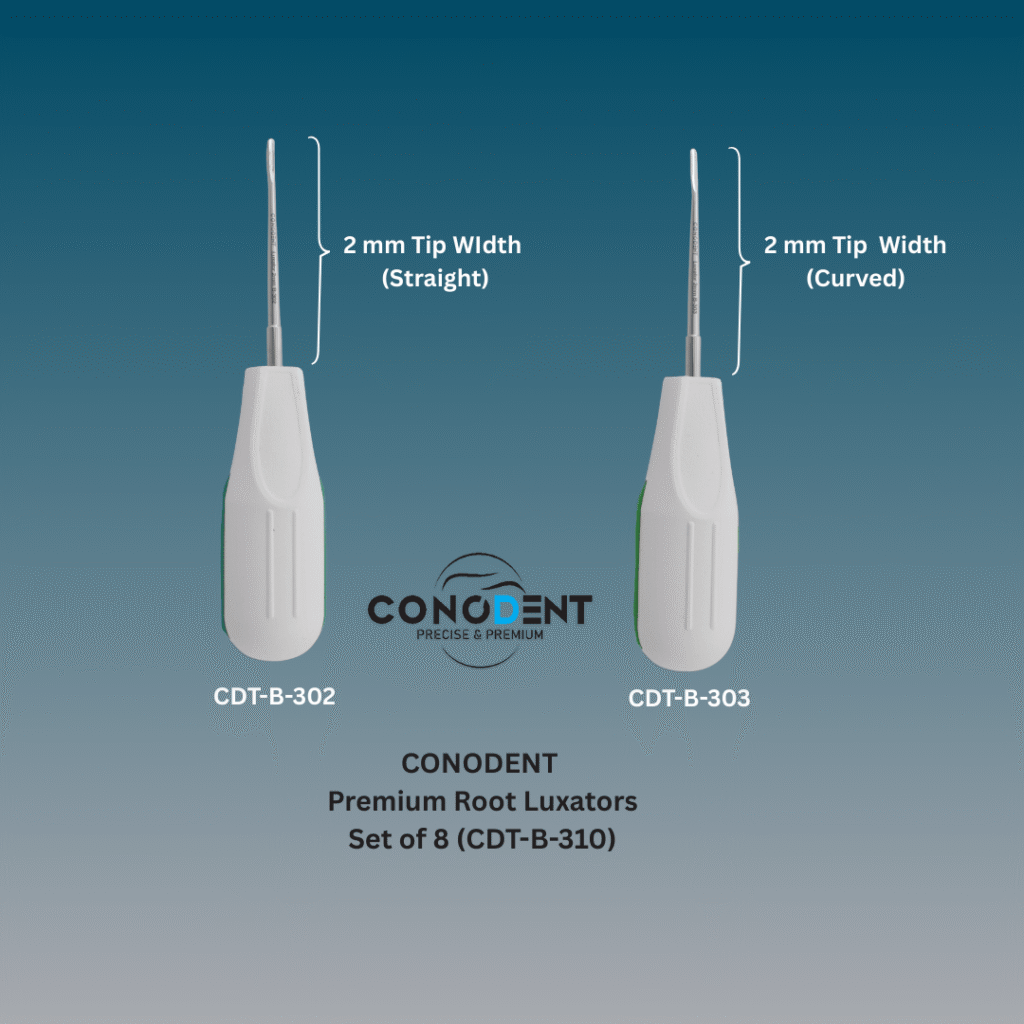
- When: The very first step after the syndesmotomy.
- Goal: To create the first “gap” in the PDL.
- Technique: Insert the 2mm Straight Luxator at a slight angle into the sulcus. Use a gentle “push and wiggle” motion to find the narrowest part of the PDL. The 2mm width is small enough to penetrate even the tightest interproximal spaces without fracturing the enamel of adjacent teeth.
Stage 2: Expanding the Circumference (The 3mm Straight & Curved)
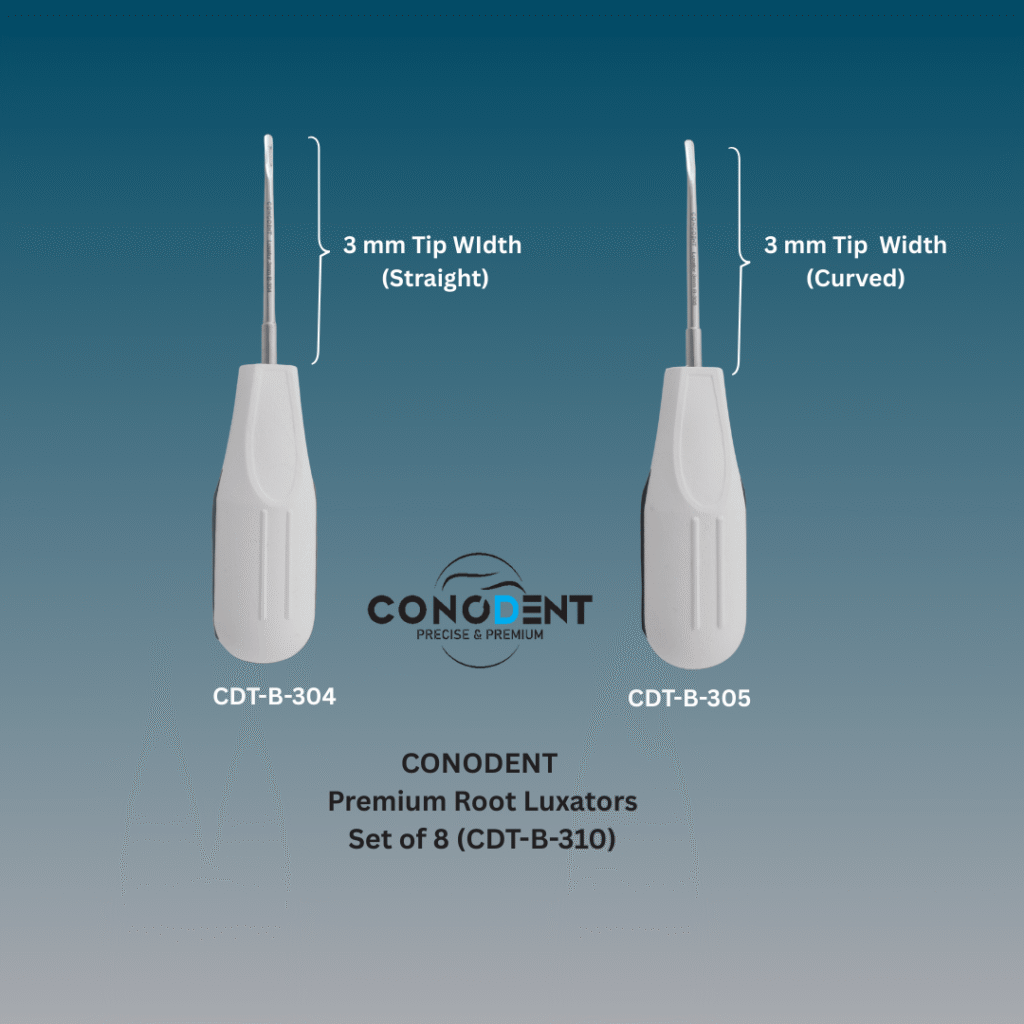
- When: Once the 2mm blade reaches the full depth of the gingival sulcus.
- Goal: To sever the fibers around the entire tooth.
- Technique: * Use the 3mm Straight for the buccal and lingual surfaces.
- Use the 3mm Curved for the mesial and distal line angles. The curve allows the blade to follow the rounded “corner” of the root without digging into the bone.
Stage 3: Creating Root Displacement (The 4mm Curved)
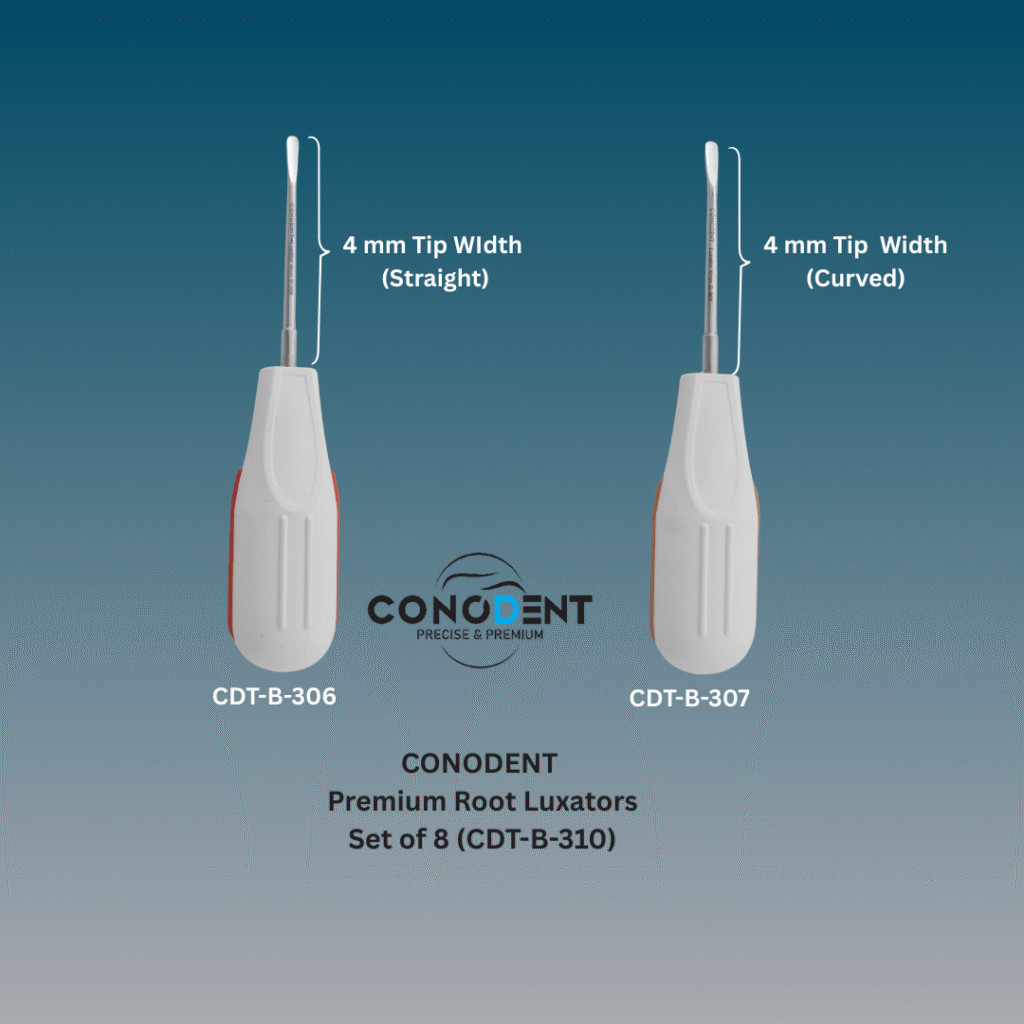
- When: When the tooth begins to show the first sign of mobility (Class I).
- Goal: To act as a wedge to displace the tooth from the socket.
- Technique: Switch to the 4mm Curved Luxator. Because it is wider, it creates more lateral displacement. Insert it deep into the mesial or distal corners. The curved blade acts like a shoehorn, pushing the root away from the socket wall while you sever the deeper apical fibers.
Stage 4: Final Luxation for Molars (The 5mm Curved)
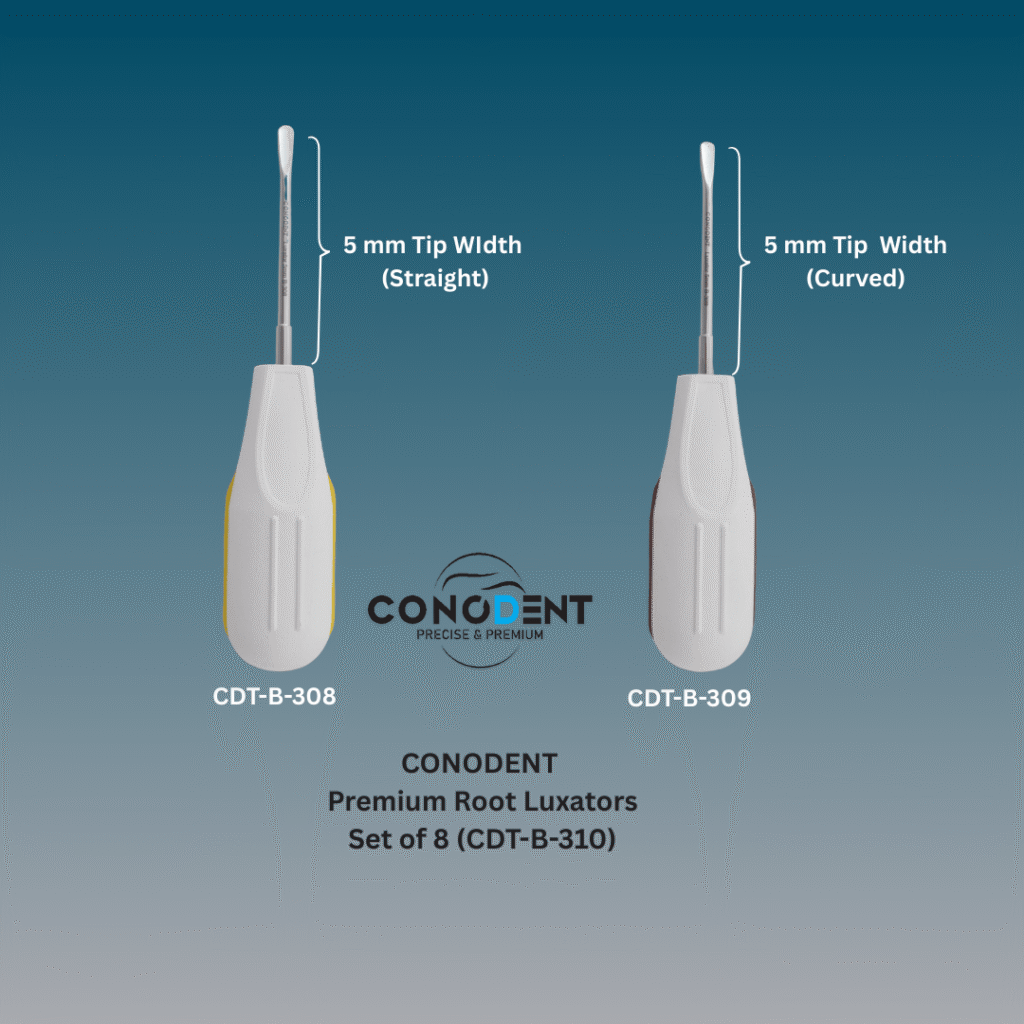
- When: Specifically for large-diameter roots or multi-rooted molars.
- Goal: To finalize the separation before forceps are applied.
- Technique: The 5mm Curved Luxator is used to bridge the gap between two roots or to engage the wide buccal surface of a molar. By “walking” the 5mm blade around the tooth, you ensure the socket is sufficiently expanded to allow the tooth to lift out vertically with zero resistance.
Quick Reference: Which Luxator to Grab?
| Clinical Scenario | First Choice | Follow-up Choice |
| Fractured Root Tip | 2mm Straight | 2mm Curved |
| Anterior Teeth (Incissors) | 3mm Straight | 3mm Curved |
| Premolars | 3mm Straight | 4mm Curved |
| Large Lower Molars | 4mm Straight | 5mm Curved |
| Wisdom Teeth (Third Molars) | 3mm Curved | 4mm Curved |
Critical Safety Warning
Luxator vs. Elevator: Remember, the CONODENT White Series handles are ergonomic for pushing force. Unlike a heavy-duty elevator (like a Coupland), do not apply a “twisting-lever” force. Use the luxator like a knife to cut the ligament. If you need to “pry” the tooth, switch to a CONODENT Stainless Steel Elevator once the luxator has done its job.


Leave a comment