Search

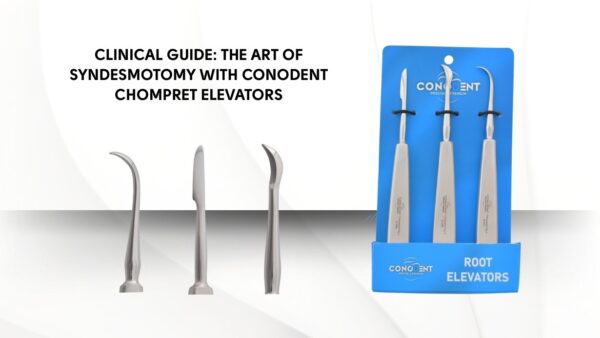
Clinical Guide: The Art of Syndesmotomy with Chompret Elevators

In modern exodontia, the goal is no longer just “getting the tooth out”—it is preserving the bone for the future. The Chompret Elevator is the essential bridge between the diagnosis and the final extraction.

Step 1: The Initial Entry (Syndesmotomy)

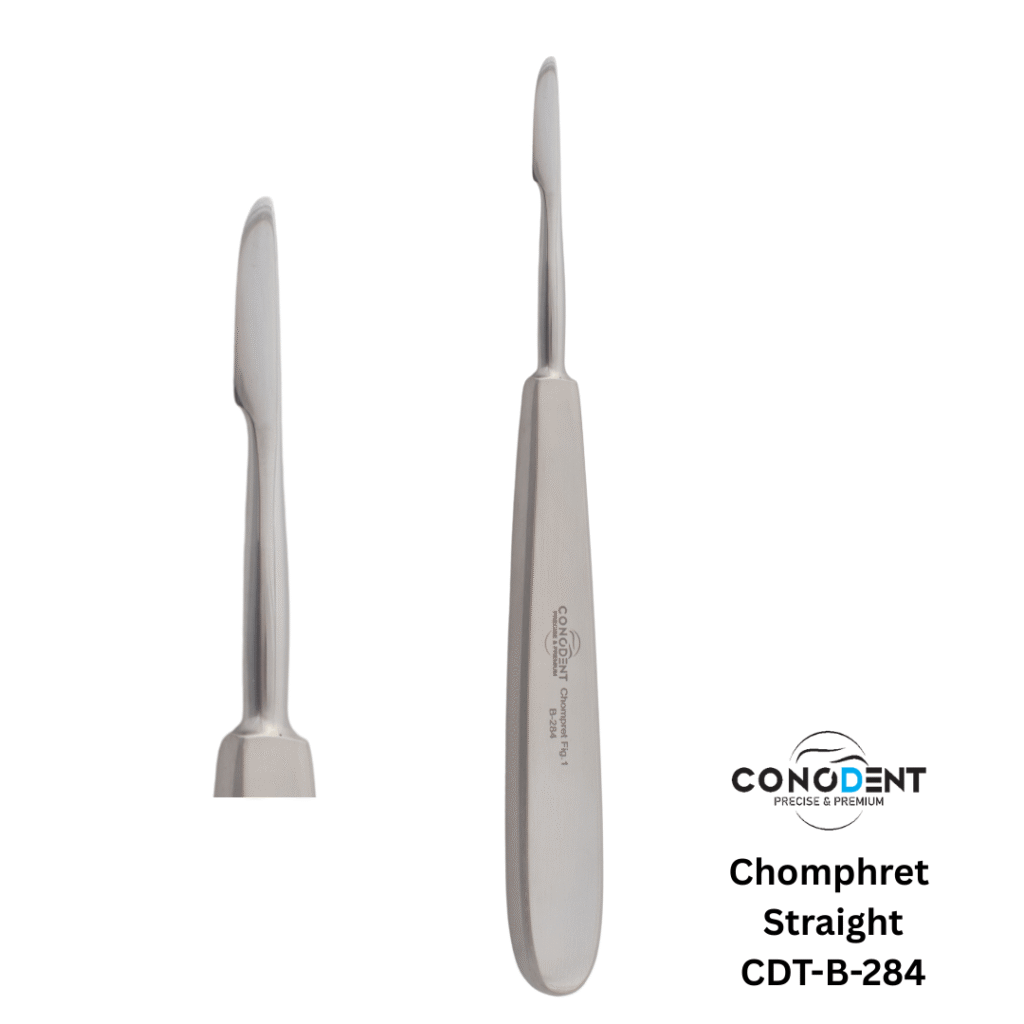
Before applying any lateral or rotational force with a large elevator or forcep, use the Straight Chompret to perform a 360-degree syndesmotomy.

  • The Technique: Insert the ultra-slim tip into the gingival sulcus at a 10-degree angle to the root. Slide the blade down to sever the periodontal ligament (PDL) fibers.
  • The CONODENT Advantage: The Sand-Pattern handle allows for the extremely light “pencil grip” required for this delicate movement, providing maximum tactile feedback as you feel the ligament give way.

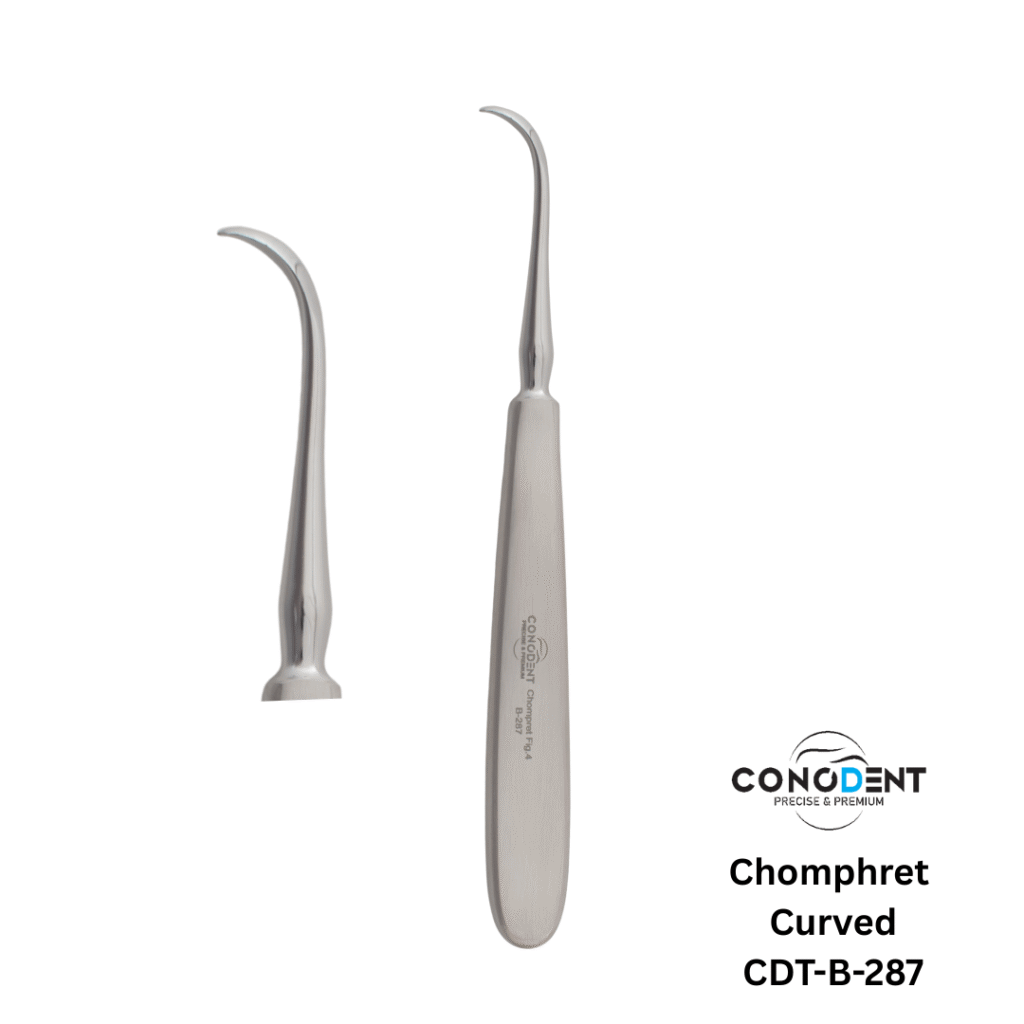
Step 2: Creating the Wedge Space

Once the fibers are severed, use the Left or Right Curved Chompret to create a small “pilot” space in the mesial or distal periodontal space.

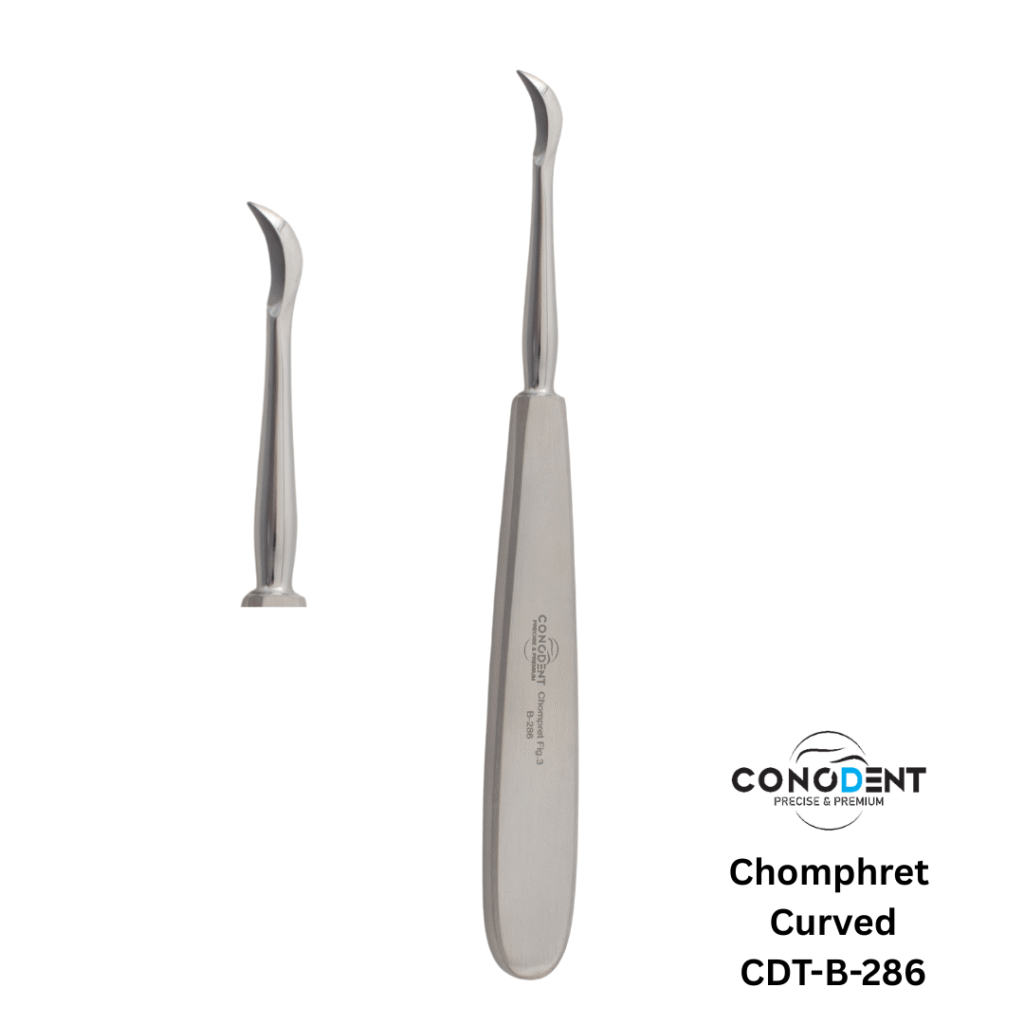
  • The Technique: Use a gentle “teasing” motion. The goal is not to lift the tooth yet, but to create a path of least resistance for your larger elevators (like the Seldin or Coupland).
  • The CONODENT Advantage: The curved geometry of the Chompret allows you to reach deep into the posterior regions without the handle hitting the opposing arch, maintaining a clear line of sight.

Step 3: Root Fragment Retrieval

If a root fractures subgingivally, the Chompret becomes your primary rescue tool.

  • The Technique: Because the Chompret blade is thinner than a standard elevator, it can wedge between the root fragment and the alveolar wall without crushing the bone.
  • The CONODENT Advantage: Our Premium Medical Grade Steel is tempered to be thin yet incredibly stiff, allowing you to apply the precise tip-pressure needed to “flick” a root fragment upward.

Why use a Chompret BEFORE Forceps?

BenefitHow it works
Bone PreservationSevering the PDL first prevents the “vulsion” of the buccal plate when the tooth is pulled.
Reduced Fracture RiskBy loosening the tooth first, you reduce the squeeze-pressure needed on the forceps, protecting the crown.
Implant ReadinessMaintains the “socket integrity,” which is vital for immediate implant placement success.
Patient ComfortLess “cracking” sounds and less pressure felt by the patient during the procedure.

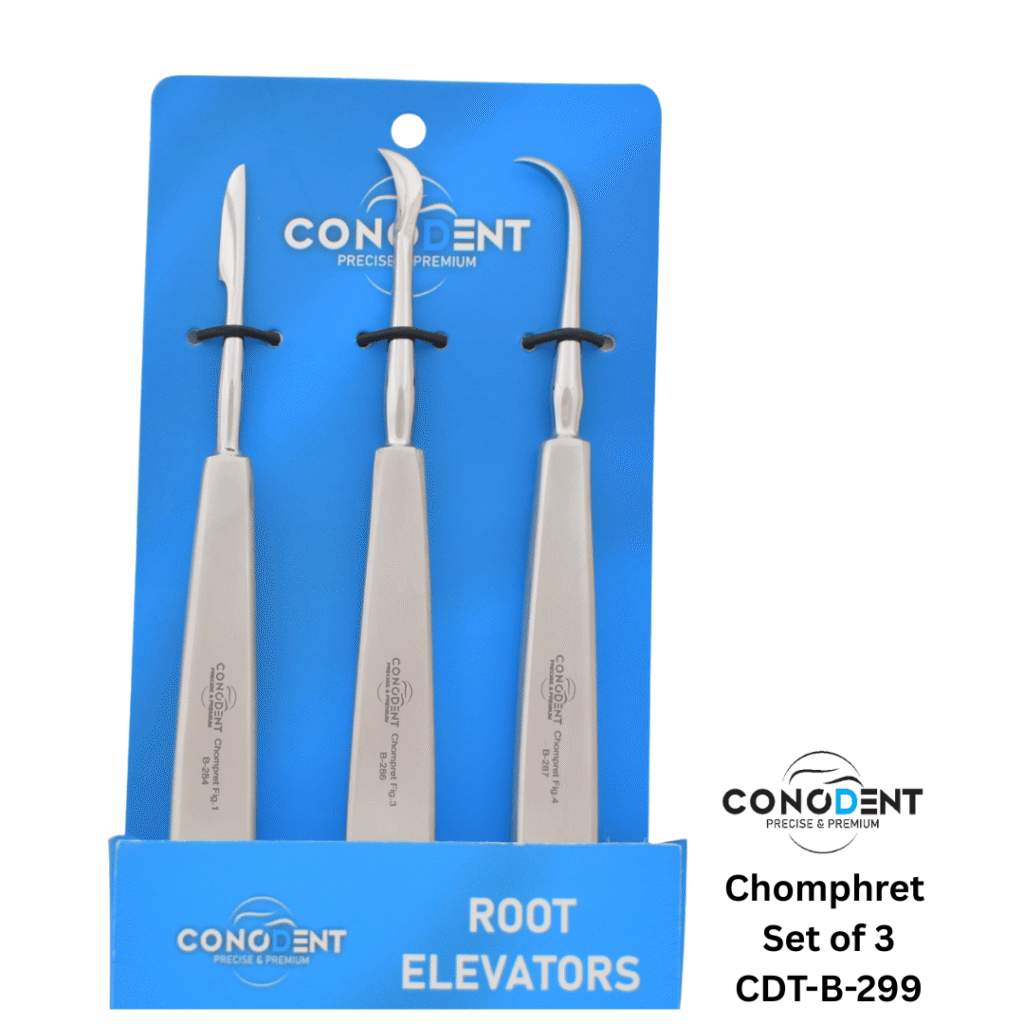
This guide is designed to help your customers understand the clinical value of the Chompret Root Elevator (Syndesmotome) as a “pre-forceps” tool, emphasizing the atraumatic benefits of the CONODENT design.


The Science of Grip – Sand-Pattern Finish

Blog Post: The Science of Grip – Why Sand-Pattern Finish is Revolutionizing Dental Instruments

In the high-precision world of exodontia, the interface between the clinician’s hand and the instrument is everything. While traditional mirror-polished instruments have been the industry standard for decades, CONODENT is leading a shift toward a more functional, clinician-centric design: the Sand-Pattern Finish.

1. Eliminating the “Glare Factor”

Traditional high-gloss instruments act like mirrors under the intense LED operatory lights. This creates “hot spots” of reflection that can cause significant eye fatigue over a long surgical day.

  • The CONODENT Solution: Our Sand-Pattern finish diffuses light in multiple directions, creating a soft, matte appearance. This ensures that your focus remains entirely on the surgical site, not on the reflections on your handle.

2. Superior Micro-Traction (The “Wet-Grip” Advantage)

Surgical environments are inherently wet. Mirror-polished handles can become slippery when in contact with fluids or even moisture on gloves, requiring the clinician to grip harder, which leads to hand fatigue.

. The CONODENT Solution: The sand-pattern creates a microscopic “peak-and-valley” texture on the stainless steel. This increases the surface area and provides Micro-Traction, ensuring a rock-solid grip even in the most challenging conditions without requiring excessive squeeze-force.

3. Enhanced Tactile Sensitivity

Many clinicians believe that a heavier grip is a more secure grip, but the opposite is true for delicate root retrieval. A lighter, more secure hold allows for better “haptic feedback”—the ability to feel the difference between bone and root.

  • The CONODENT Solution: By combining our Lightweight Ergonomic Design with the Sand-Pattern finish, CONODENT instruments allow you to hold the tool with a relaxed hand. This translates to better tactile feedback and more successful retrievals of fractured root tips.

4. Durability and Aesthetics

Mirror finishes show every scratch and water spot from the autoclave. Over time, they can begin to look dull or “used.”

  • The CONODENT Solution: The Sand-Pattern finish is incredibly resilient. It hides minor surface scratches and maintains its professional, high-end aesthetic through hundreds of sterilization cycles.

The CONODENT Commitment

Our instruments aren’t just tools; they are extensions of the surgeon’s hand. By moving beyond traditional aesthetics and focusing on the physics of the grip, we provide instruments that are safer for the patient and more comfortable for the doctor.

Technical Specifications Recap

FeatureSand-Pattern Finish Benefit
Light ReflectionDiffused / Anti-Reflective
Grip StabilityHigh (Micro-Traction)
Hand FatigueReduced (Low Squeeze-Force Required)
MaintenanceResilient to scratches and water spots
CertificationISO 13485:2016 Certified

“Wedge or Rotate?”

Technical Focus: Seldin vs. Cryer – Choosing the Right Elevator for the Task

Knowing when to use a Seldin vs. a Cryer can be the difference between a 5-minute extraction and a 30-minute struggle.

In the toolkit of a successful dental surgeon, the Seldin and Cryer elevators are two of the most frequently used instruments. While they may appear similar to the untrained eye, their mechanical principles and clinical applications are distinct.

At CONODENT, we have enhanced both classic patterns with our signature Sand-Pattern Ergonomic Handles to ensure that no matter which you choose, you have the best grip in the industry.

1. The Seldin Elevator: The “Universal” Wedge

The Seldin is primarily a wedge-style elevator. Its straight, thin, and slightly concave blade is designed to be driven vertically into the periodontal ligament (PDL) space.

  • Mechanical Principle: Wedge and Lever.
  • Best For: Initial luxation of a tooth, expanding the alveolar socket, and severing the PDL around the entire circumference of the root.
  • When to reach for the CONODENT Seldin: When you need to create initial movement in a tooth that is still firmly seated.

2. The Cryer Elevator: The “Triangular” Powerhouse

The Cryer is a wheel-and-axle elevator. It features a sharp, triangular-shaped blade that is angled off the shaft.

  • Mechanical Principle: Wheel and Axle (Rotation).
  • Best For: Removing fractured roots or roots left behind after a crown has been removed. It is particularly effective in multi-rooted mandibular molars once one root has been extracted.
  • When to reach for the CONODENT Cryer: When you have an empty socket next to a remaining root. You place the tip into the empty socket, engage the interradicular bone, and rotate to “elevate” the remaining root fragment.

Key Comparison Table

FeatureCONODENT SeldinCONODENT Cryer
Blade ShapeSlim, Straight, ConcaveSharp, Triangular, Angled
Primary MotionVertical Wedging / PryingRotational (Wheel & Axle)
Ideal ArchUniversal (Upper & Lower)Primarily Mandibular (Lower)
Best Use CaseInitial tooth luxationRoot fragment retrieval
Handle FinishSand-Pattern (Non-Slip)Sand-Pattern (Non-Slip)

The CONODENT Advantage

Regardless of the pattern, CONODENT elevators are manufactured in our ISO 13485:2016 certified facility using premium medical-grade steel. Our Sand-Pattern Finish ensures that even under high-torque rotational forces (Cryer) or heavy vertical pressure (Seldin), the instrument remains stable in your hand.

Back to Top
Product has been added to your cart